

Instead of waiting for a shoot, a design queue, or a full editing process, teams can begin with what they already have: a product description, a campaign message, a press release, a product image, or a short creative brief. With the insMind AI video generator, those inputs can become short video drafts that are easier to review, refine, and publish across business channels.
Where insMind Fits in a Modern Content Workflow
insMind is designed for teams and creators who want a straightforward way to create AI videos online. It supports common video-generation workflows such as starting from a text prompt or using an image as the visual reference. That matters for businesses because not every campaign begins the same way.
| Business Need | Best Starting Point | Practical Output |
| Product launch announcement | Short prompt or product image | Launch teaser for LinkedIn, landing pages, or email campaigns |
| Sales enablement | Feature summary or customer pain point | Brief explainer clip for proposals or presentations |
| Ecommerce promotion | Product photo or catalog image | Motion-based product showcase for ads and social posts |
| Corporate communication | Press release summary or event visual | Visual teaser for internal updates, newsrooms, and media pages |
How It Works: Creating a Business Marketing Video With insMind
Step 1: Enter a campaign prompt or upload a product image
Open insMind and choose the video creation workflow. If your project begins with a business message, write a concise prompt that includes the subject, purpose, visual style, and desired motion. For example, a software company might describe a modern dashboard on a laptop, a slow camera push-in, clean office lighting, and a professional B2B marketing tone.
If your strongest asset is a product photo, poster, or brand image, upload it first. Then add a short instruction explaining how the image should move. A simple request such as a slow zoom, gentle product reveal, or subtle camera movement is often better for business content than an overly complex scene.

Step 2: Select the model, ratio, and video settings
After adding the input, choose the settings that match the business channel. A vertical format is useful for short-form social media. A horizontal format is often better for website sections, presentations, YouTube, product pages, and editorial embeds. Review the available model, duration, and quality options before generating.
For a quick internal test, a shorter draft may be enough. For a public-facing marketing asset, use settings that provide a cleaner and more polished result. Choosing the right format at this stage saves time later because the video will already fit the channel where it will be published.

Step 3: Generate and review the AI video preview
Click generate and wait for insMind to create the video preview. Review it as a business asset, not just as a creative experiment. Check whether the first second communicates the message, whether the product or scene looks clear, and whether the motion supports the campaign objective.
If the preview is close but not ready, adjust the prompt or settings. Add more specific language about tone, camera movement, product focus, or audience. For business use, clarity is usually more important than visual complexity.
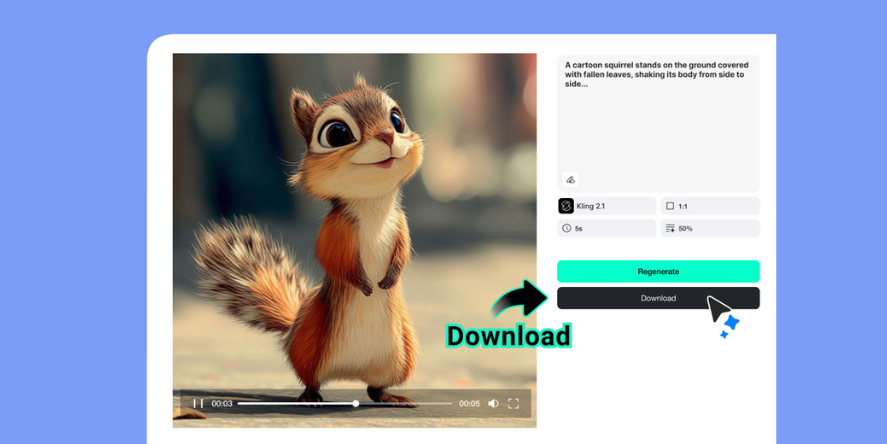
Step 4: Download the final video for business use
When the preview fits the campaign, download the finished MP4. From there, the team can use it in a social post, landing page, product presentation, email campaign, sales deck, or internal communication. If the same message needs to appear on several channels, create additional versions with the correct aspect ratios.
It is also useful to save the prompt and settings that produced a strong result. This helps teams build a repeatable style for future product launches, campaign teasers, and social media content.
Article received by email.